❊ How to: Make Skin & Hair Smooth (Smudge/Blur)
Step-by-step tutorial
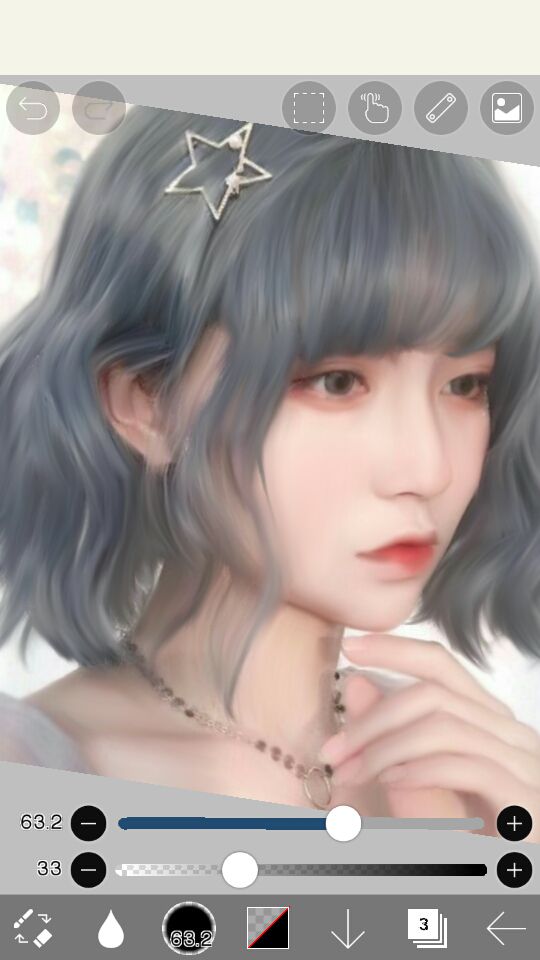
How to smoothen the skin with Smudge and Blur on IbisPaint X
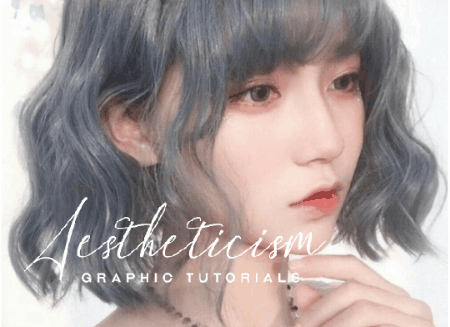
In this chapter, I will teach you how to make the skin of the faceclaim smooth, or generally how to enhance the pic's quality and remove the grainy/pixelly parts.
By the way, I think one of the time-consuming and hard parts in editing fanart-style graphics is making everything smooth and all, so I hope this tutorial will help! :)
If you're new to IbisPaint X and you're still unfamiliar with the tools and all, check out the chapter entitled: ❊ IbisPaint X: Tools, Features, etc. [Part I and II]
ㅡLet's get startedㅡ
1. Open desired canvas and add your photo or simply import your photo directly.
2. Duplicate the layer of where your photo is. The purpose of this step is to have a reference when we want to compare the smudged photo and the original one, and so we can keep the photo's original components and not alter it too much by too much smudging.
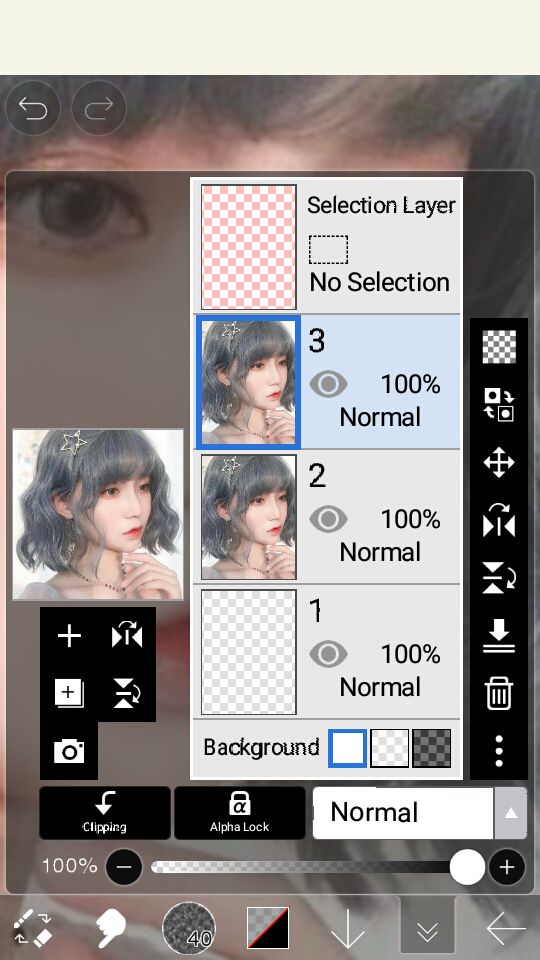
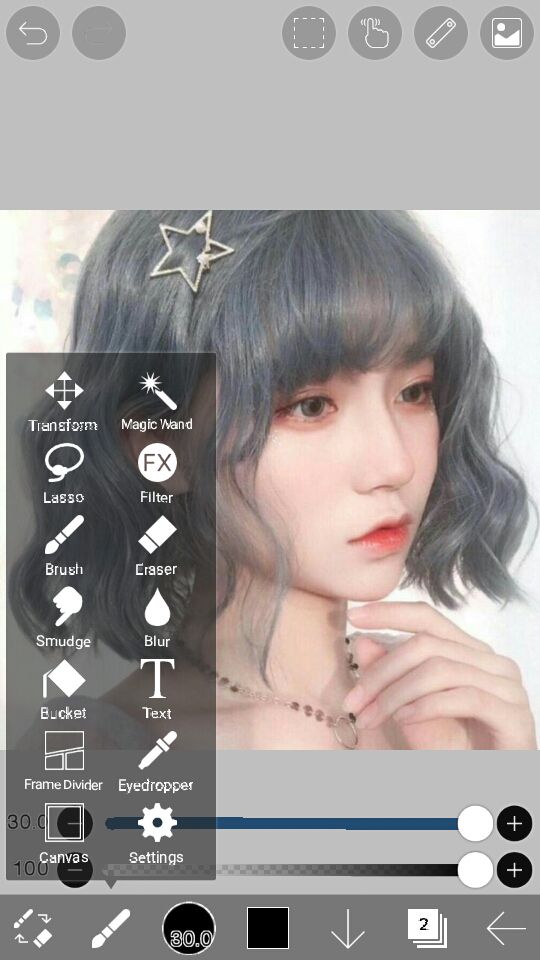
3. Click on the smudge tool. Make sure you are selecting the layer where your photo is as shown in #2.
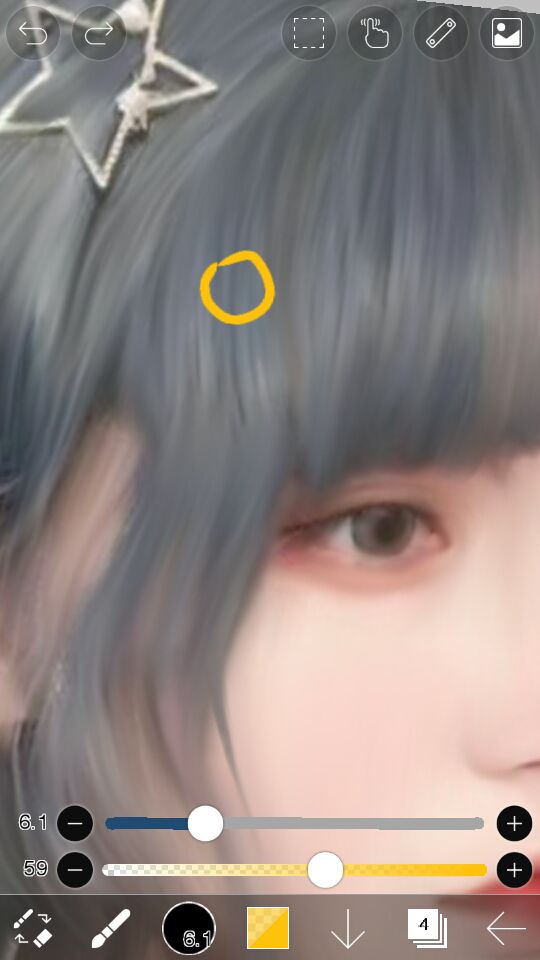
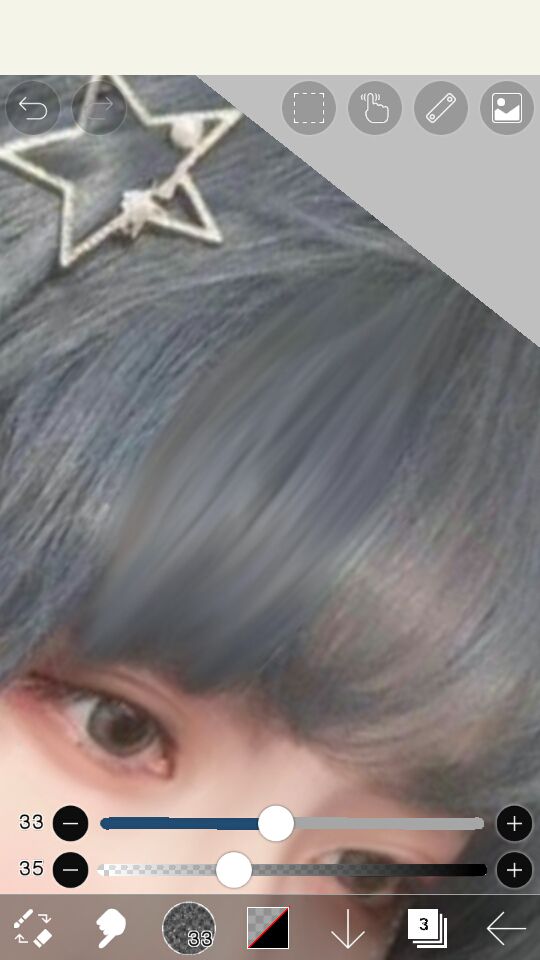
4. Now, select the brush named Pencil (Graphite), the second one from the left. Lower the size and opacity of the brush. TIPS: For the face/skin, preferrably the opacity of the brush should range from 35-40. For the hair, the size of the brush should be like half size for one group of strand. I don't know how to explain it well in words lol, see this pic: (The yellow circle represents the preferred size of brush)
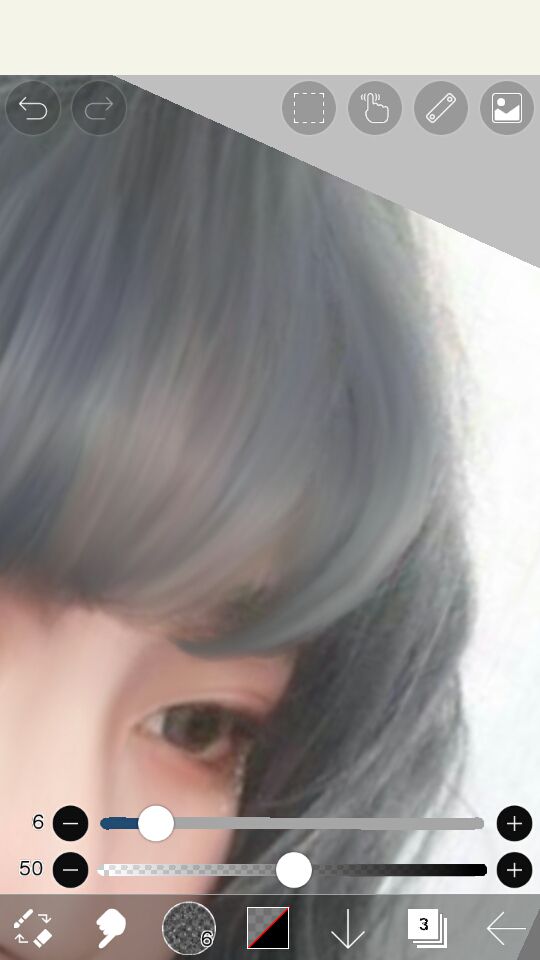
5. You can now start smudging the hair and skin.
TIPS: Be careful smudging the shadow parts or dark tones of the photo as they shouldn't be expanded. Also, you should increase-decrease the size of the brush from time to time, depending on where you are smudging. Example, for the tip of the nose or for the part below the nose, you should have a smaller brush. For smudging the eye part, don't smudge the inner part.
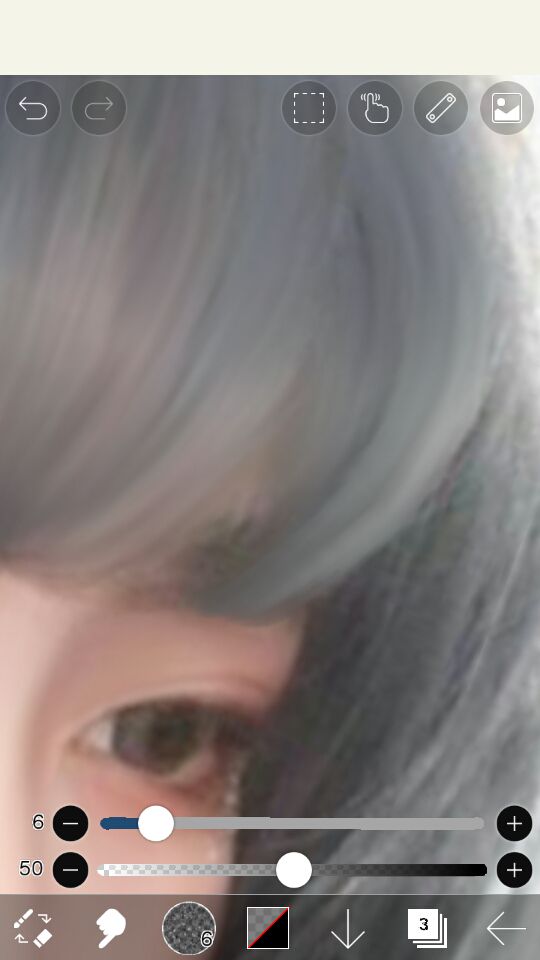
EXTRA TIP: (Not necessary to follow for the normal smudging but I wanted to share this technique) You can achieve the natural pointy/curvy tip by decreasing the size of the brush (maybe from 3-7) and increasing the opacity, then brush the tip of the strands forming a pointy curve.
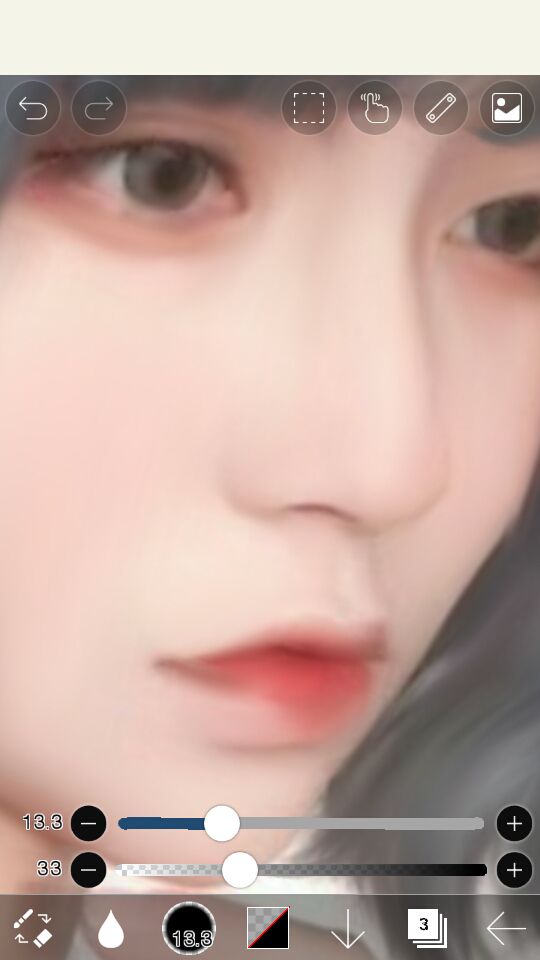
6. After you smudge everything on the faceclaim's body, select the Blur tool for the finish smoothing touches. You can blur the parts where the image still looks grainy/pixelly. Also, since we did not do anything with the inner part of the eye, we'll use the blur tool to enhance the quality on that part.
And now we're done : D
ㅡDone! :)ㅡ
If this tutorial helped, please do vote. Feel free to comment if you have any questions to ask or if there's anything you want to clarify regarding the topic~
You can also watch my Speed Edits on Youtube, the channel's name is AESTAETIC (https://www.youtube.com/c/AESTAETIC) Don't forget to like and subscribe if you'd like to see more :D
~ Tine
Bạn đang đọc truyện trên: Truyen2U.Com