𝒊𝒊. making a basic cover ⸝⸝ ʚ !
⸝⸝ ʚ ! ⌗ °• 𝐅𝐎𝐎𝐋'𝐒 𝐆𝐎𝐋𝐃 𖥻 𓂃
TUTORIAL ˚ . ⁺ ❪ 𝑐𝑜𝑣𝑒𝑟 𝑡𝑢𝑡𝑜𝑟𝑖𝑎𝑙 ❫
━━━━━━ ◟©𝓡𝐑𝐄𝐈𝐋𝐄𝐄𝐍 𝟐𝟎𝟐𝟓 . ⁺
❪ 💐°𓏲⋆💌. ⋆⸜ 🌷͙֒✮˚ ❫
𝙸𝙽 𝚆𝙷𝙸𝙲𝙷 ✶ ˖ i will walk you through
making a basic cover, as i've been asked
for a cover tutorial but am not skilled LOL.
i have yet to fully master cover-making,
but if i figure out how to make other and better
ones, i will share tutorials for those as well.
please keep in mind that i am using a
desktop/pc, so if you are using something
else, it may appear differently than how
mine looks as for the uploading psds and graphics
part. for this tutorial, i will be using
canva, photopea, pinterest, and deviantart.
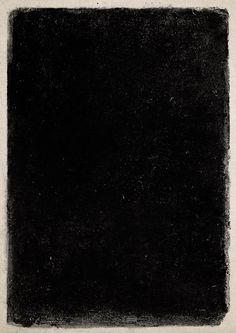
you will also need these two images below,
so please download them. if you are not
sure how to download images on here, click
on the comment option on the image,
then right click it and download it.

❪ on to the tutorial .ᐟ ❫
⁺ . 𝒇𝒊𝒏𝒅𝒊𝒏𝒈 𝒂 𝒄𝒐𝒗𝒆𝒓 𝒑𝒉𝒐𝒕𝒐 ◟━━━━━━
✶ ˖ before you get to work on making the
actual cover, you need to find a photo that you
would like to use for your cover. for me, i
find 𝐏𝐈𝐍𝐓𝐄𝐑𝐄𝐒𝐓 to be the easiest and
quickest thing to use to find cover photos.
so, depending on what you are looking for,
do a quick search in pinterest and once you
have found your cover photo, download
it to your device. now, once you have
downloaded your photo, we're going to
head over to 𝐂𝐀𝐍𝐕𝐀.
⁺ . 𝒔𝒊𝒛𝒊𝒏𝒈 𝒕𝒉𝒆 𝒄𝒐𝒗𝒆𝒓 ◟━━━━━━
✶ ˖ once you're on the canva homepage,
on the left corner there is a "𝐂𝐑𝐄𝐀𝐓𝐄"
button. click on that and it will open a new
page with creation options
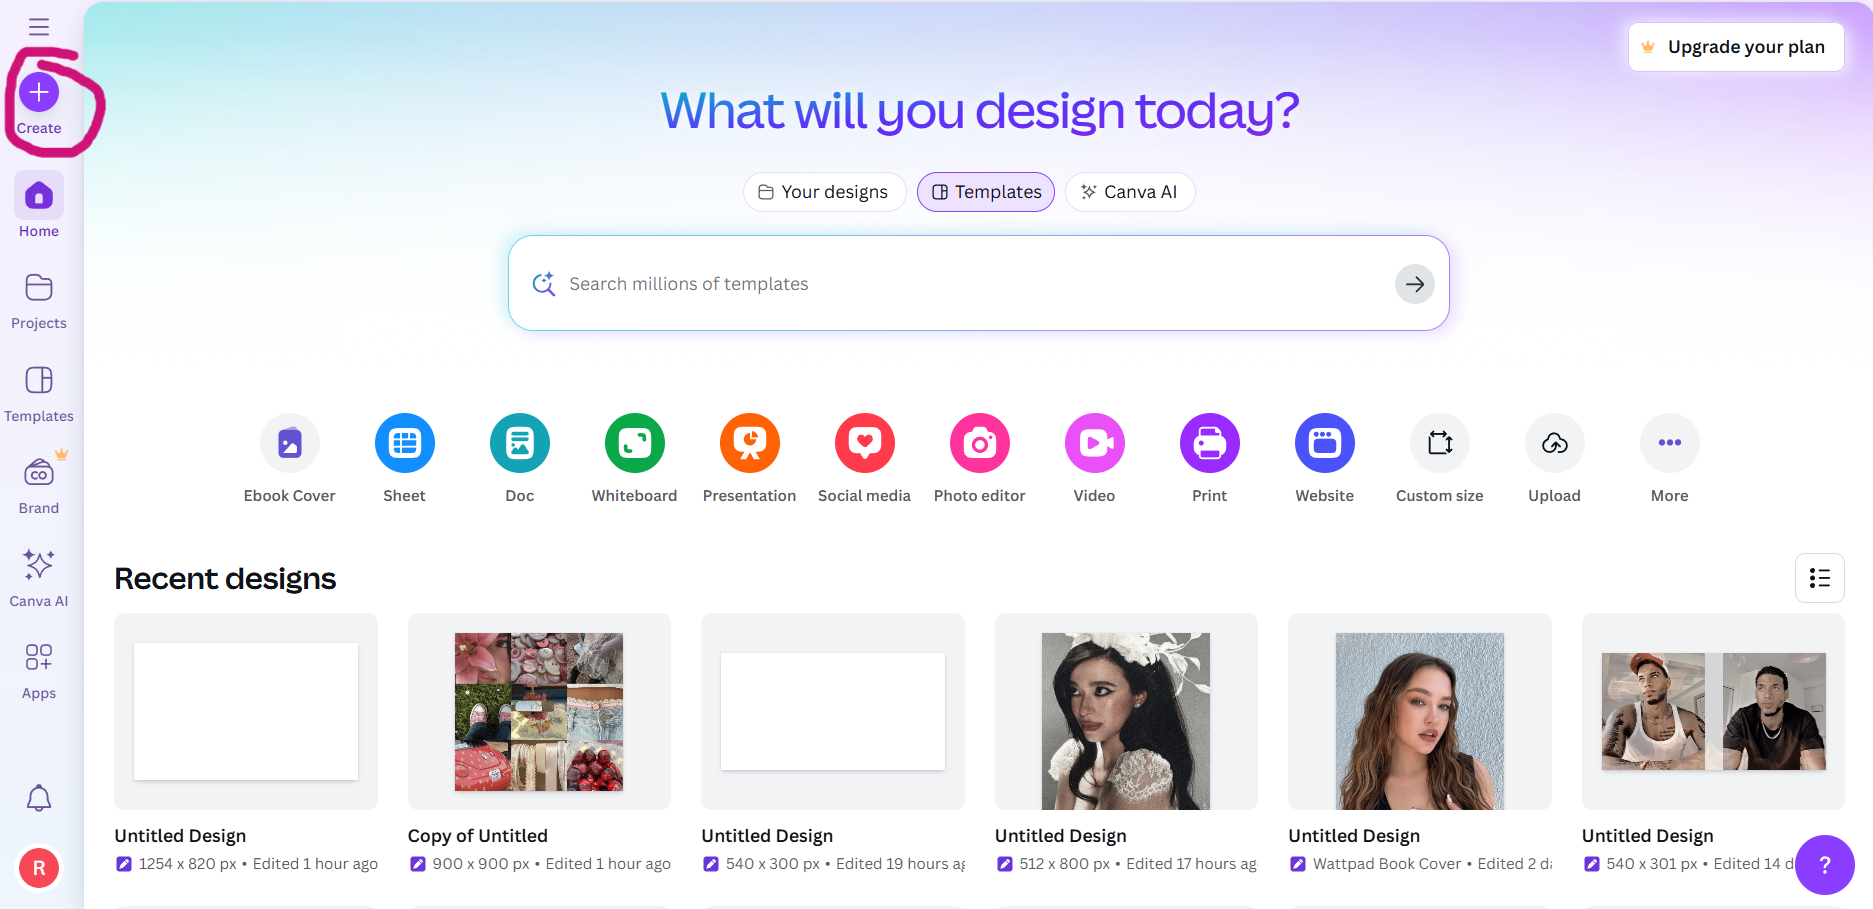
✶ ˖ on that page, you are going to select
the "𝐂𝐔𝐒𝐓𝐎𝐌 𝐒𝐈𝐙𝐄" option, then where it says
"𝐖𝐈𝐃𝐓𝐇" and "𝐇𝐄𝐈𝐆𝐇𝐓" you will enter 512
for the width size and 800 for the height size. after
doing so, click on the "𝐂𝐑𝐄𝐀𝐓𝐄 𝐍𝐄𝐖 𝐃𝐄𝐒𝐈𝐆𝐍"
that is the option to the right.

✶ ˖ now that you are on the editing page,
you will select the "𝐔𝐏𝐋𝐎𝐀𝐃𝐒", then select
"𝐔𝐏𝐋𝐎𝐀𝐃 𝐅𝐈𝐋𝐄" and find the image you had
previously downloaded for the cover photo.

✶ ˖ once your image is fully uploaded,
you will click and drag your photo
onto the white square and it will
automatically fill it with your image.

✶ ˖ from there you will select the "𝐒𝐇𝐀𝐑𝐄" button
on the top right corner. from there it will open a
drop down and you will select the "𝐃𝐎𝐖𝐍𝐋𝐎𝐀𝐃" option.
after doing so it will take you to another one,
keep the file type as png (personally), though you can
change it if you wish. then hit download.


⁺ . 𝒆𝒅𝒊𝒕𝒊𝒏𝒈 𝒕𝒉𝒆 𝒄𝒐𝒗𝒆𝒓 ◟━━━━━━
✶ ˖ now that we have our image downloaded,
we are going to upload it to 𝐏𝐇𝐎𝐓𝐎𝐏𝐄𝐀.
if you don't know how, please see the "𝐏𝐒𝐃
𝐂𝐎𝐋𝐎𝐑𝐈𝐍𝐆" chapter where i show how
to upload things.
now is also a good time to add any psd you
want to add to your image before we
continue editing. though, if you want to
do it afterwards, that is fine as well.
now onto the actual editing part. click on the
"𝐅𝐈𝐋𝐄" option in the top left corner, then
you will see "𝐎𝐏𝐄𝐍 𝐀𝐍𝐃 𝐏𝐋𝐀𝐂𝐄". select that
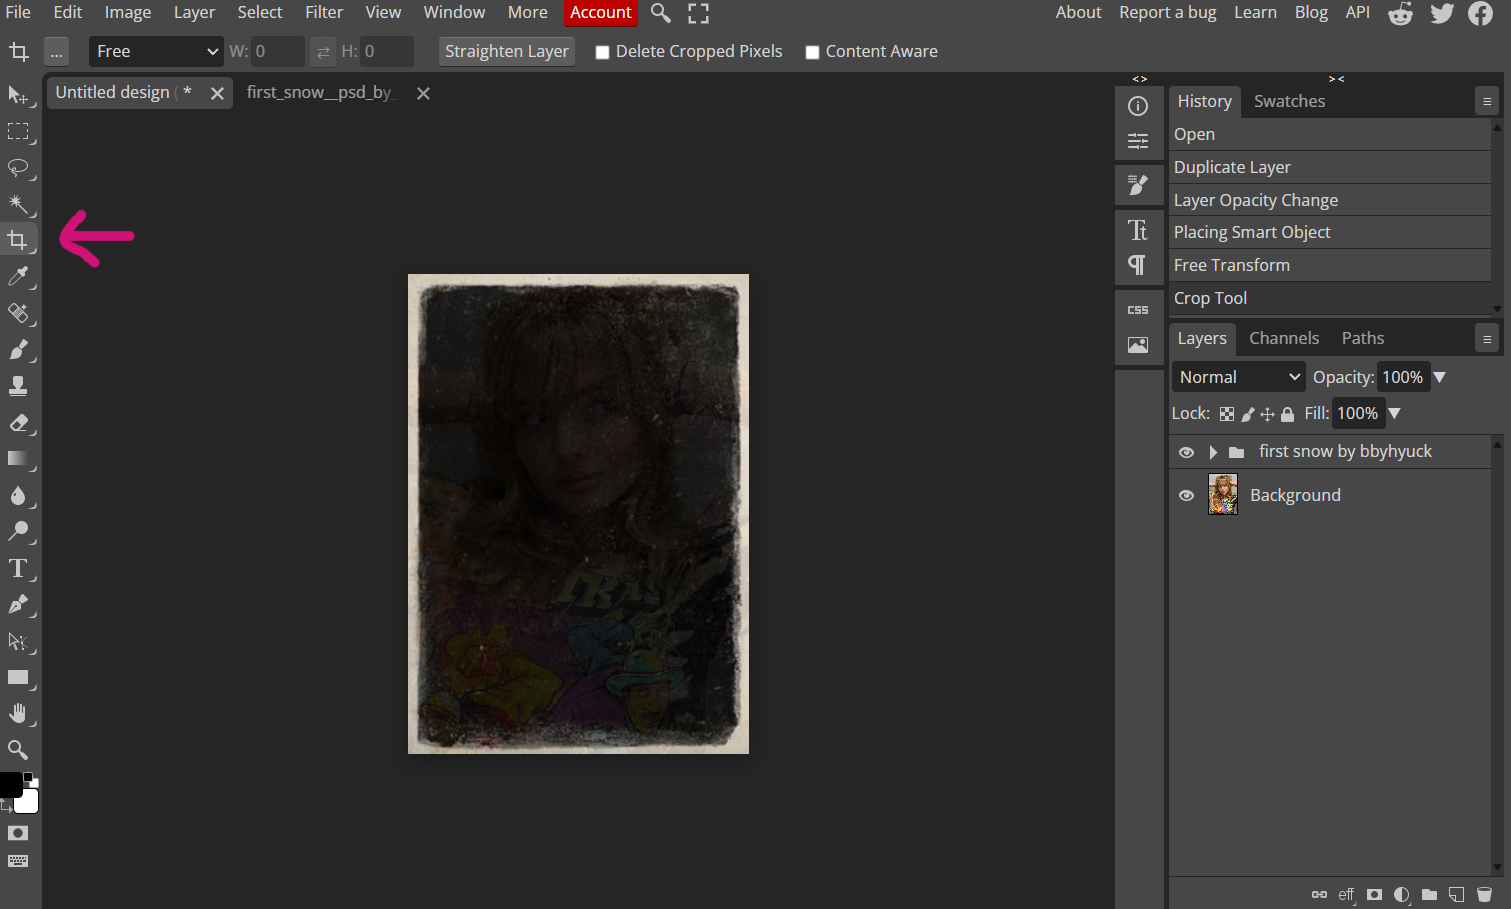
and then select the first overlay image that
i provided at the top of the chapter.

✶ ˖ from here you will resize it so that it
fits over the whole cover, using the squares
in the corners of the image to drag and
resize it. after you have fully resized it, click the
checkmark that is on the top of the screen.
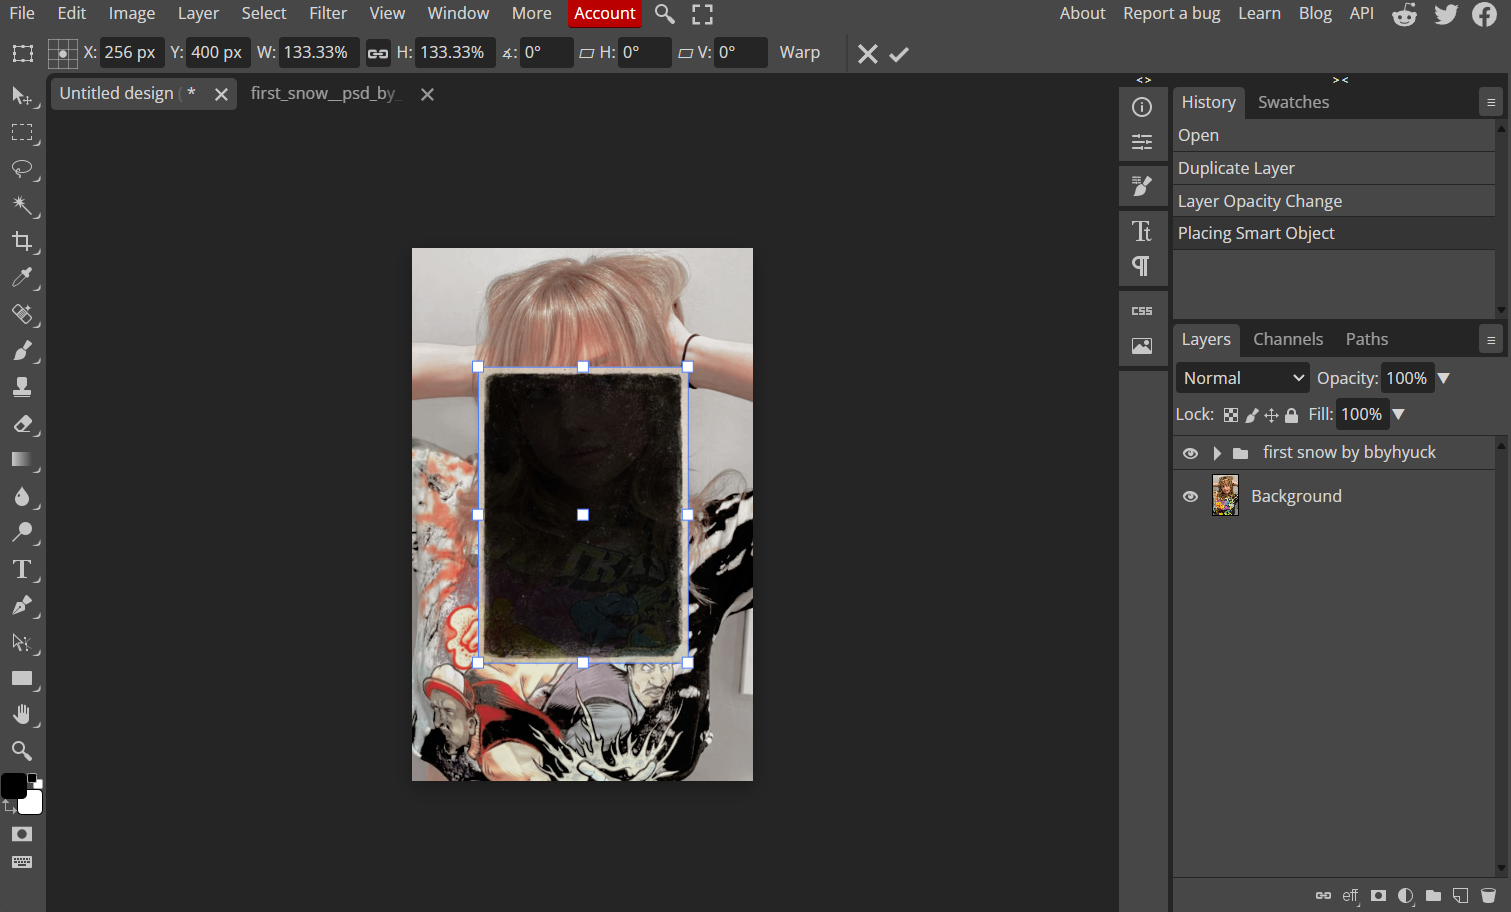
✶ ˖ if needed, you can select this square
option and crop your image a little if you
can't get it to fit all the way.
✶ ˖ from there, on the right side of the screen
where your layers on, right click on the layer that
shows your overlay that you had added.
when it opens a pop up, select the option labeled
"𝐁𝐋𝐄𝐍𝐃𝐈𝐍𝐆 𝐎𝐏𝐓𝐈𝐎𝐍𝐒".
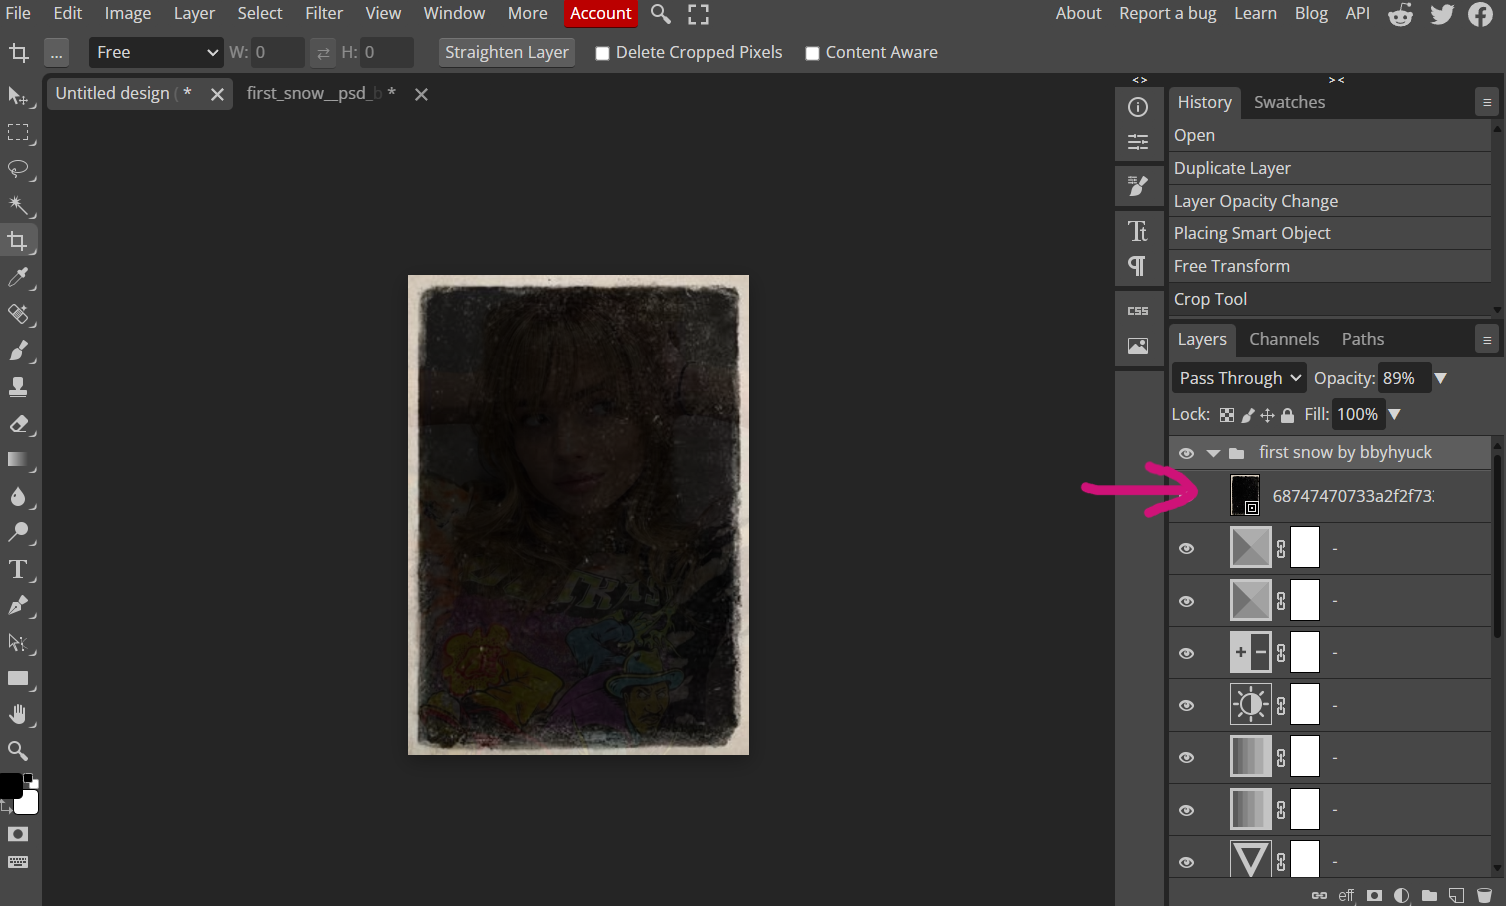

✶ ˖ from here you will select where it says
"𝐍𝐎𝐑𝐌𝐀𝐋", then, change it to "𝐒𝐂𝐑𝐄𝐄𝐍". once
you have done so, select "𝐎𝐊" then repeat the
exact same steps with the other overlay. that being
"𝐎𝐏𝐄𝐍 𝐀𝐍𝐃 𝐏𝐋𝐀𝐂𝐄", resizing, then blending.

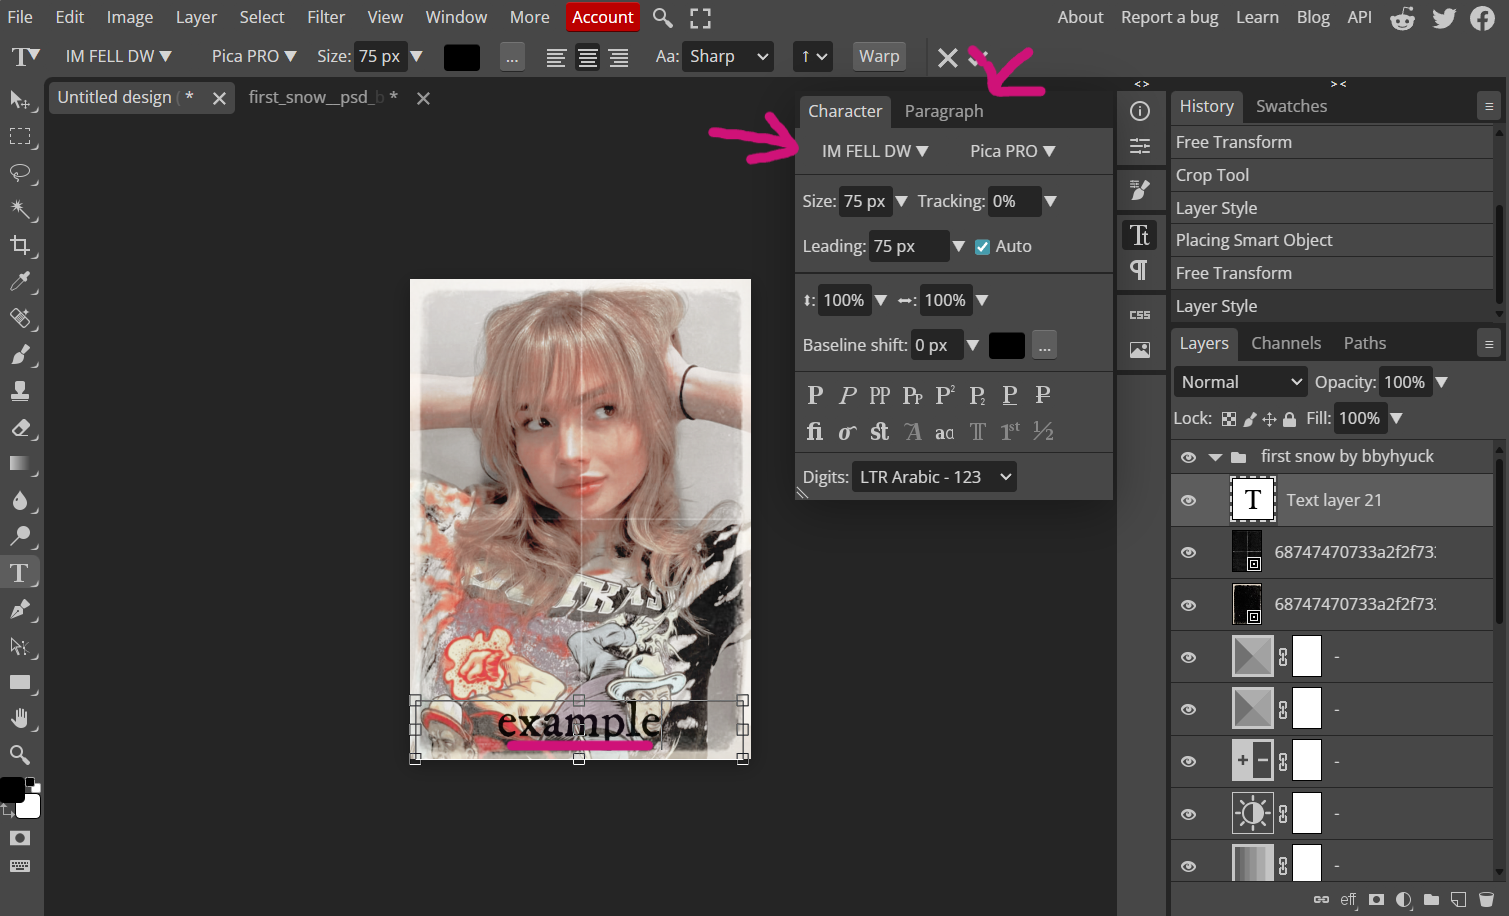
✶ ˖ now on the left side of the screen, select
the "𝐓" and then on your cover, click and drag
to create a textbox. once you have typed your
text, select the check mark on the top of the screen,
then on the right side, "𝐓𝐭". from here you can edit
your text details.

✶ ˖ i personally use the "𝐈𝐌 𝐅𝐄𝐋𝐋 𝐃𝐖" font,
so if you first double click on your text so it's
highlighted, then click on where your font is, you can
search that font or use one of the other fonts.
you can also click on the "𝐏𝐀𝐑𝐀𝐆𝐑𝐀𝐏𝐇" tab beside
the "𝐂𝐇𝐀𝐑𝐀𝐂𝐓𝐄𝐑" tab and make your
paragraph in the center.
✶ ˖ after you have edited this, you will do the same
as you did with the overlays and right click
on the "𝐓𝐄𝐗𝐓" layer on the right side of the screen.
select "𝐁𝐋𝐄𝐍𝐃𝐈𝐍𝐆 𝐎𝐏𝐓𝐈𝐎𝐍𝐒", but this time
we will select "𝐒𝐎𝐅𝐓 𝐋𝐈𝐆𝐇𝐓". that is how i do
the text blending for mine, but if you'd like
to use one of the other ones, go right ahead!
⸝⸝ ʚ ! ⌗ °• 𝐓𝐇𝐄𝐑𝐄 𝐘𝐎𝐔 𝐇𝐀𝐕𝐄 𝐈𝐓 .ᐟ 𖥻 𓂃
⩇⩇ː⩇⩇ ❛ thank you for requesting this tutorial,
ang4lbaee and i hope it was helpful.
i'm not really good at covers, but this is a
good, simple starter cover. ⸝⸝ ʚ !
⩩ NOW SHOWING ❪ FINISHED PROJECT ❫

❪ COVER TUTORIAL .ᐟ ❫
↳ 𝗻𝗲𝘅𝘁 𝘂𝗽 : layout help

Bạn đang đọc truyện trên: Truyen2U.Com